Running Multiple Instances of Bluestacks Using VMware
Whether you want to run multiple instances of mobile games such as the most anticipated Clash of Clans, or any other app that restricts you from running more than one instance on a single android device, you can use VMWare to run multiple instances of your desired app with the help of Bluestacks App Player.
Bluestacks and VMWare
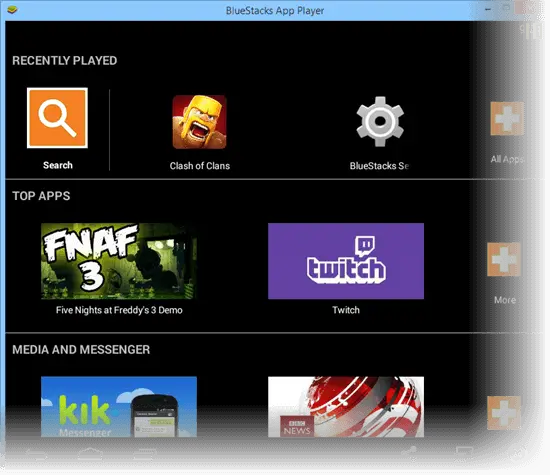
Bluestacks is one of the most widely used Android emulators in the world because of its ease of use. In case if you don’t know what an emulator is, android emulators like Bluestacks are platforms that allows you to simulate the phone’s or tablet’s operating system on your computer without the need of your device. That said, you can run most of the mobile apps on your computer with the help of an emulator. Note: Bluestacks is an android emulator and it only runs android apps but not the iOS ones.
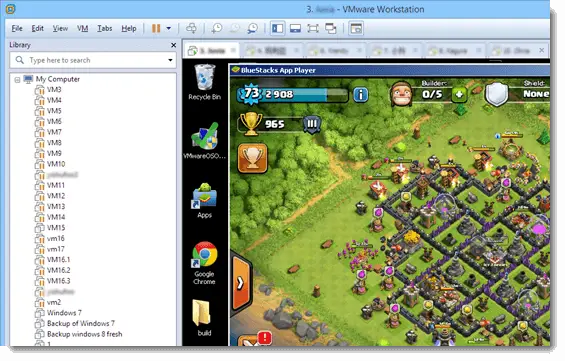
However, you cannot run more than one Bluestack instance in your Windows because it relies on the services in your Windows. Well, if you can run multiple Windows on top of your Windows (we call these virtual machines) and then run Bluestacks on each of your Windows, it is possible to run multiple Bluestacks simultaneously.
This is especially useful if you play games such as clash of clans and have multiple accounts and you want to run them simultaneously.
Things you need to run multiple sessions of Bluestacks
- VMWare Workstation (Preferably the latest version)
- Bluestacks App Player
- Windows Installation Disc
This tutorial is intended for intermediate computer users who know at least a little about Windows Installation and Virtual Machine. If you insist to learn, you will have to do a lot of researching on things you do not know in the instructions below. Please also do this at your own risk (although I doubt there is any risk in creating any kind of virtual machine).
How to Run Multiple Instances of Bluestacks
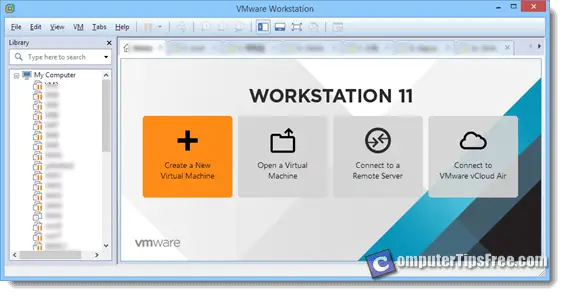
Firstly, download and install VMware Workstation. Once installed, launch it and then select “create new virtual machine”. Follow the on-screen instruction (the default will be fine) and browse to your Windows Installation directory when asked. It’s not like how we have to manually install the Windows ourselves, VMware has a feature called easy install which helps you to install your Windows automatically without you having to click on anything during the installation.
Once your Virtual Machine is installed, boot it up and install Bluestacks. Then, install and run your desired app.
That’s it. If you need more than one virtual machine, just repeat the steps to create multiple virtual machines.
Things you need to know about running Bluestacks in VMware
Information below is based solely from what we have experimented and may not be correct.
Bluestacks seems to not be able to run on Virtual Machines that runs Microsoft Windows XP and Vista. It is mainly due to the graphic card driver that the VM virtualizes is not supported by Bluestacks. Thus, it will result in either fail installation of Bluestacks or Bluestacks appearing in Black Screen when it runs. The most recommended Windows OS version for virtual machine is Windows 7 (We have not tested Windows 8 yet so we don’t know if it will run as expected).
You will also need to set the Virtual Machine RAM to 2GB or higher in order to install Bluestacks. That said, you will need a decent number of ram to run multiple instances of virtual machine especially if you are to install and use Bluestacks on them. A rough number would be 8gb of ram if you want to run more more than 2 Virtual Machines. There are tweaks to lower the ram requirement during the installation of Bluestacks but that will most likely result in fail to run heavy games such as clash of clans or blue/black screen when running them.
Also, make sure you set your virtual machine to run one processor and one core for a more stable performing Windows. You can learn more about how VMware handle task in the VMware Knowledge Base. You can also use the VMware Optimization Tool (google it) to optimize your Windows performance so that your resources will not be wasted on unnecessary Windows tasks and services such as Windows Firewall, Windows Updates etc that you most likely don’t need in a virtual machine.


