Snipping Tool Download Windows 8/7/8.1 Print Screen Shortcut
This post explains where to download Snipping Tool, how to use it, Snipping Tool keyboard shortcuts and alternates to Microsoft Snipping Tool.
Snipping Tool was first introduced in Windows Vista and remain as the most widely used Screenshot Capture tool in Microsoft Windows today, in the Windows 8/7/8.1. Microsoft Snipping Tool is a program that allows you to crop anything on the screen and save them as an image of a format of your choice.

Snipping Tool Download Install
Snipping Tool was supposed to be installed by default as you installed and launched your Windows for the first time. Well, if it wasn’t installed, you are probably using the Basic version of your current Windows OS. Snipping Tool is only available for users who own Windows 8/7/8.1/Vista Home Premium, Professional, Ultimate or Enterprise.
If you are using one of these editions of Windows OS and yet Snipping Tool doesn’t exist, run Windows Update and be sure to turn it on for automatic update to get the latest updates of Snipping Tool directly from Microsoft.
How to Quickly Find/Run Snipping Tool by Shortcut
Unless you hard-code a keyboard shortcut to run Snipping Tool (for advanced keyboard such as Razer), you will need to launch the program before you can actually start print screen and capturing anything on your screen. The fastest way this can be done is to Pin Snipping tool to the task bar so that you can launch it by only one click and will be always available on your screen, instead of running it via a desktop shortcuts or metro Start-button searching for it.
How to use Snipping Tool Windows 8/7/8.1?
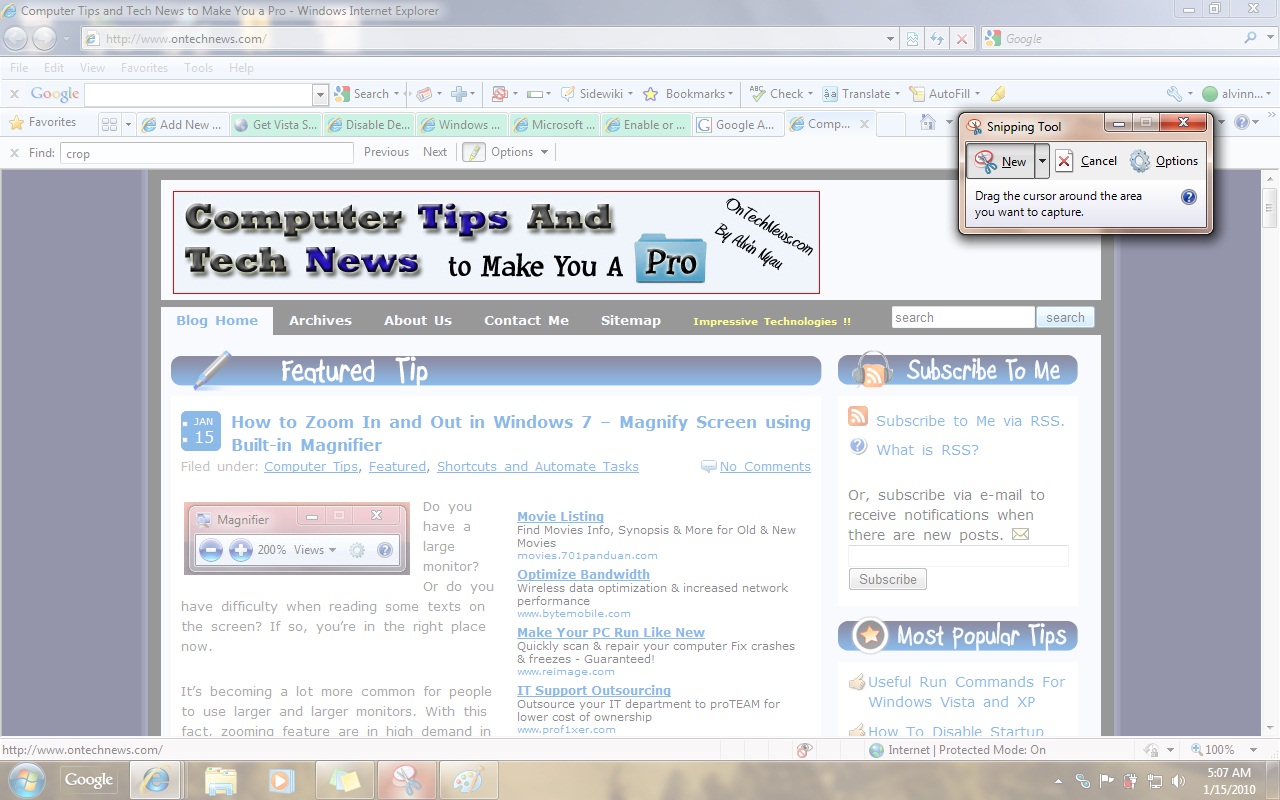
Let’s say if we have something like this on our screen.
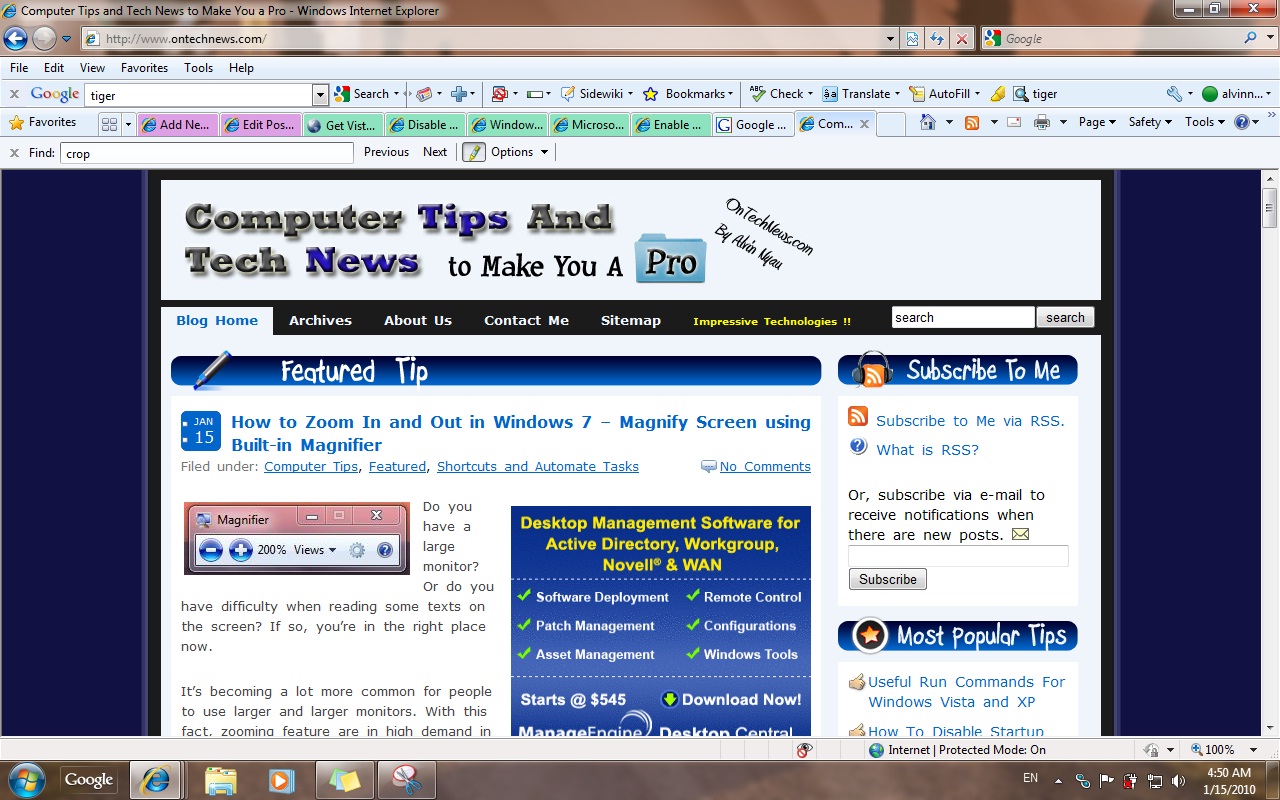
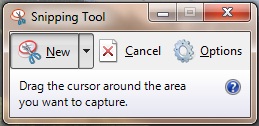
If we want to capture only the logo in the screenshot, we can do it using snipping tool’s custom size snipping. Firstly, run snipping tool via the Start button, search for “snipping tool” and click on it from the search result. Or you can access it by going to All Programs, Accessories, Snipping Tool. This is how the Snipping Tool would look like on your screen.
When it’s launched, other parts of your screen should turn to be a little bit gray.
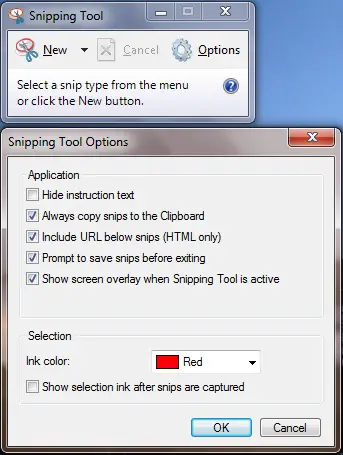
There are several options of how you would want to print screen or capture your screen you can select before proceeding to snip.
- Hide instruction text
- Alwayscopy snips to the Clipboard
- Include URL below snips (HTML only)
- Prompt to save snips before exiting
- Show screen overlay when Snipping Tool is active.
- Selection ink Color choices.
And these are the types of cropping available in Snipping tool.
- Free-form Snip
- Rectangular Snip
- Window Snip
- Full-screen Snip
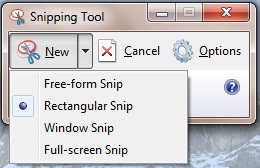
In this case, we will use rectangular snip. To snip the logo part of computertipsfree.com, simply hold left click and drag your cursor to cover the entire logo and release your left click. It should look like this.
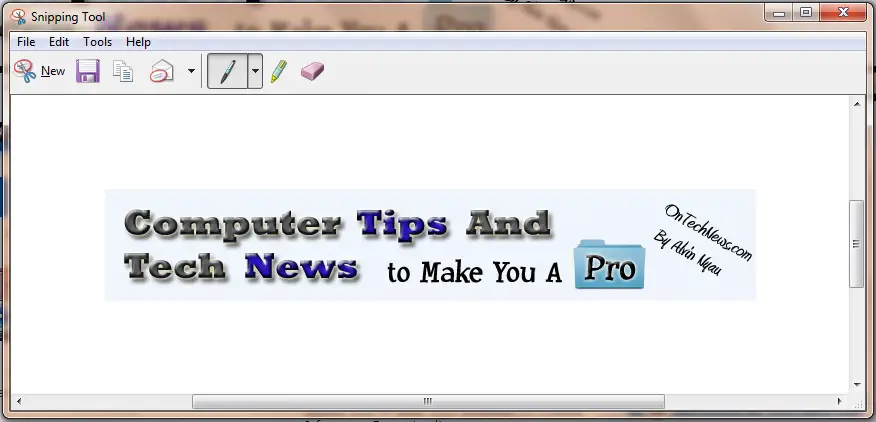
The logo part should now be cropped into the snipping tool where you can edit with pen, eraser, highlighter, etc. You can also send this image directly to someone via email in Snipping tool by pressing the send snip button.
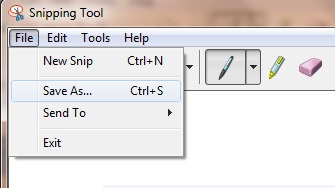
To save this image, press File, Save as. Choose the location where you want your image to be saved, and the image format of your choice.
Optional non-Microsoft Snipping Tool – Snipping Tool++ for Windows XP
If you are using Windows XP, or if you prefer other snipping tool than the default Microsoft Snipping tool, you may want to try Snipping Tool++ which is a popular and free to use snipping tool that is compatible in almost every version of Windows OS. You can download Snipping Tool++ from here.


